7. Figures
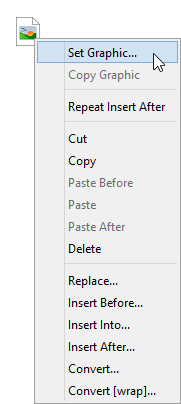
Clicking the " Graphic" toolbar button displays a menu.

- graphic
- Insert a
graphicelement at caret position. - figure
- Add a
figureelement after caret position[1].In TEI, a
pelement may have afigurechild element. However, this element arrangement does not make much sense. That's why the above menu entry will take great care to never add a figure inside a paragraph.
Specifying an image file
When you use any of the above menu entries, you'll be automatically prompted to specify an image file (the value of the url attribute of the newly inserted graphic element).
If, after that, you want to change this image file, please double-click the image or alternatively, right-click it and then select the "Set Graphic" entry from the contextual menu.
Doing this displays a dialog box letting you specify the location of an image file. This location, generally an URL relative to the location of the document being edited, is used to set the value of attribute url of the graphic element.
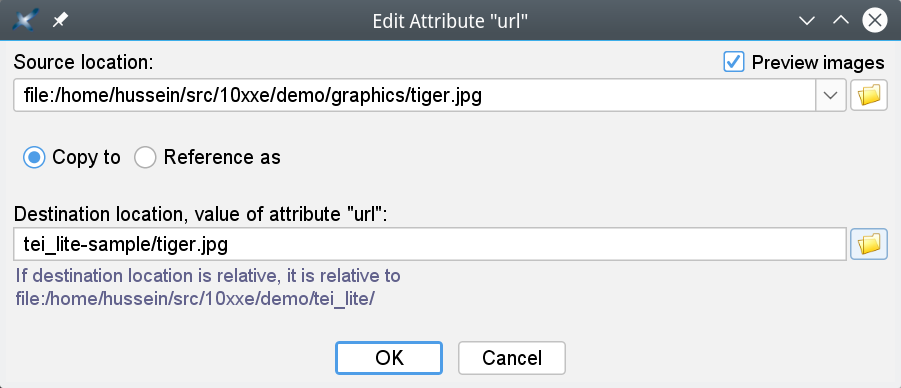
- Choose an image file by clicking the Browse button found next to the "Source location" text field.
If "Reference as" is selected (which is the default setting) then you are done. The location found in the "Destination location" text field will be used as is to set the value of attribute
urlof thegraphicelement. - In some cases, you'll want to copy an image file (i.e. not just reference it in place from your document), for example, to put it in the same folder as the one containing the document being edited.
When this is the case, after specifying the location of the image file in the "Source location" text field, select "Copy to" and then specify in the "Destination location" text field where this image file is to be copied to.
For this use case too, the location found in the "Destination location" text field will then be used as is to set the value of attribute
urlof thegraphicelement.
It's of course possible to resize an image by specifying the
width,heightorscaleattribute of thegraphicelement in the Attributes tool. However the easiest way to do that is to click the image and then drag any of the red handles drawn around it.
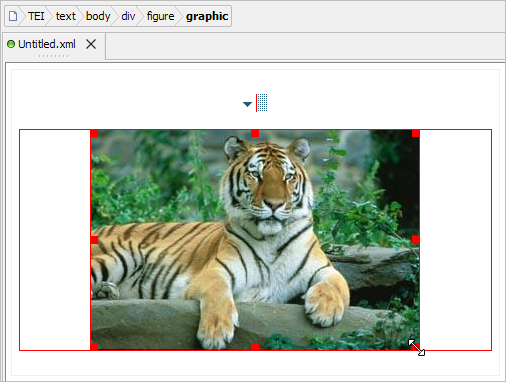
figure is added after node selection (if any) or after caret, at a document location where it is valid to do so.