8. Tables
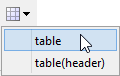
Click the  ("Add table") toolbar button to add a new
 table element after caret position[1]. This button displays a menu letting you choose between a plain table or a table starting with a header row (where first row child element has attribute role="header").
In TEI, a
pelement may have atablechild element. However, this element arrangement does not make much sense. That's why the above menu entries will take great care to never add a table inside a paragraph.
Selecting any of the above menu entries displays a dialog box letting you choose how many rows and columns the new table will initially have.
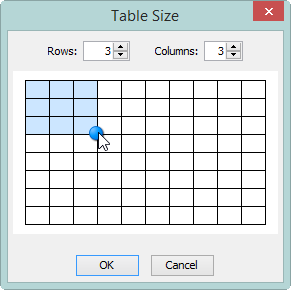
There is not need to manually set or update the
rowsandcolsattribute of atableelement. If needed, XMLmind XML Editor will automatically do this for you each time you'll save your document to disk.
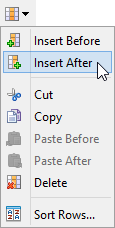
Modifying a table
The other buttons found in the "Table" section of the toolbar let you modify a table.
| Easy column selection. Suffice to click anywhere inside a
|
| Easy row selection. Suffice to click anywhere inside a |
| Easy cell selection. Suffice to click anywhere inside a |
 Sort Rows" menu entry displays a dialog box letting you sort the rows of the table according to the string values of the cells of current column (that is, the column to which belongs the cell containing the caret; see above easy column selection).
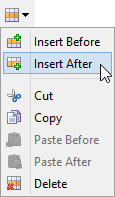
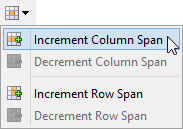
table is added after node selection (if any) or after caret, at a document location where it is valid to do so.