6.1. List items
Click the " List Item" toolbar button to add a new list item after current list item.
Specifying current list item is easy. Suffice to click anywhere inside a list item. For list elements having attribute type="gloss", clicking anywhere inside the label element preceding the item element works too.
In fact, this button fully supports list elements having attribute type="gloss". For this kind of lists, it adds a label element followed by an item element.
Handy keyboard shortcuts[1]
The following keyboard shortcuts, commonly found in word processors, also work in XMLmind XML Editor:
- Pressing ENTER at the very end of a
itemelement inserts a newitemafter it. - Pressing ENTER at the very beginning of a
itemelement inserts a newitembefore it. - Pressing ENTER anywhere inside a
itemelement splits thisitemin two.
These other keyboard shortcuts are specific to XXE:
- Pressing Ctrl-ENTER[2] anywhere inside a
itemelement inserts a newitemafter it. - Pressing Ctrl+Shift-ENTER[2] anywhere inside a
itemelement inserts a newitembefore it.
Converting between paragraphs and list items
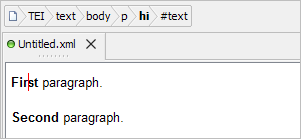
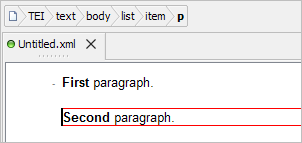
Let's see the  ("Increase nesting level") toolbar button in action using an example. Our document contains two paragraphs.
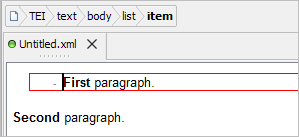
Click anywhere inside first paragraph and then click the "Increase nesting level" button. This converts selected p element to an item element, creating a parent list element on the fly.
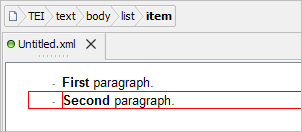
Now click anywhere inside second paragraph and then click the "Increase nesting level" button. This converts selected p element to a second item element, following first item element and sharing the same list parent.
Click another time the "Increase nesting level" button just to see what happens. This time, selected second item element is converted to a p element and this paragraph has been made a child of first item element.
The  ("Decrease nesting level") toolbar button performs the opposite operation of the ("Increase nesting level") toolbar button.
The
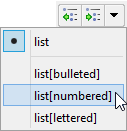
rend="simple") on the fly. However it's very easy to change the type of a list (more precisely, the value of attributerend). Simply click anywhere in the list and select any of the following menu entries.Alternatively, you can type a “prefix” to specify the kind of list to be created:
- If the paragraph is empty, simply type "
*", "-", "1.", "a.", "A.", optionally followed by space characters, in it.- If the paragraph is not empty, type "
*", "-", "1.", "a.", "A.", followed by at least one space character, at the very beginning of it.These “prefixes” are used to create respectively: list[bulleted], list[bulleted], list[numbered], list[lettered], list[lettered], as if the above "Change list type" menu was automatically used.