| 17.1. Adding an image map to your document | ||
|---|---|---|
 | 17. The "Edit Image Map" dialog box |  |
| 17.1. Adding an image map to your document | ||
|---|---|---|
| | 17. The "Edit Image Map" dialog box | |
The following procedure applies to XHTML, DITA topic and DocBook documents.
Select an entry corresponding to an image map from the popup menu displayed by the  "" toolbar button.
Specify which image file to use, for example, by right-clicking the image placeholder and then selecting "" from the contextual popup menu.
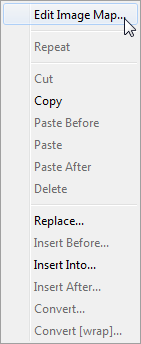
Right-click anywhere inside the newly inserted image map element element (e.g. XHTML map) and select "" from the contextual popup menu.
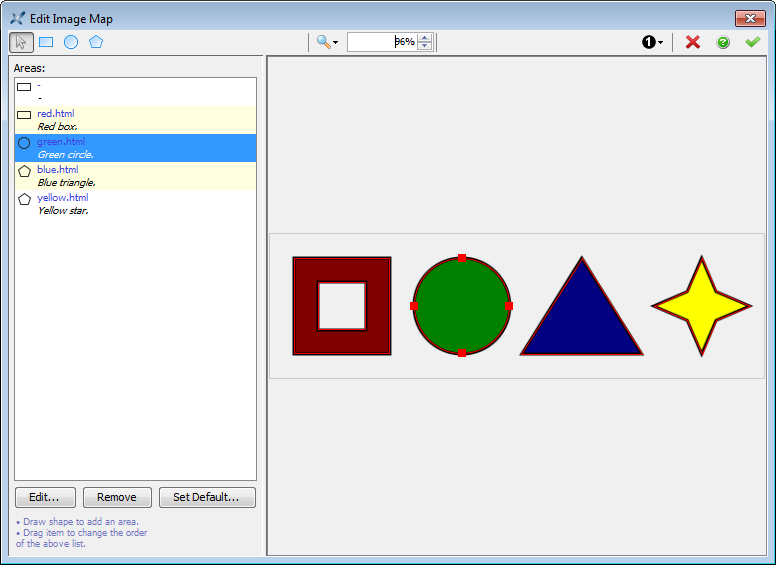
This displays an image map editor.
Use the image map editor to add “hot areas” to your image.
How to use this image map editor is explained below.
| |  | |
| 17. The "Edit Image Map" dialog box |  | 17.2. Using the image map editor |