Inserting custom element templates
Generally, when
you insert a new element, XMLmind XML Editor automatically creates for you
the valid element having the simplest content. For example, if you
insert a note element in a DocBook document, this
note contains an empty para.
But what if you
often want your notes to begin with a title element? Will you
have to use Insert Before again and again in order to insert by hand
a title before the para? The answer is no. Suffice
to do that once, select the customized note element and then
save it as a named element template. This is done by using menu item
OptionsCustomize ConfigurationSave Selected Element as Template.
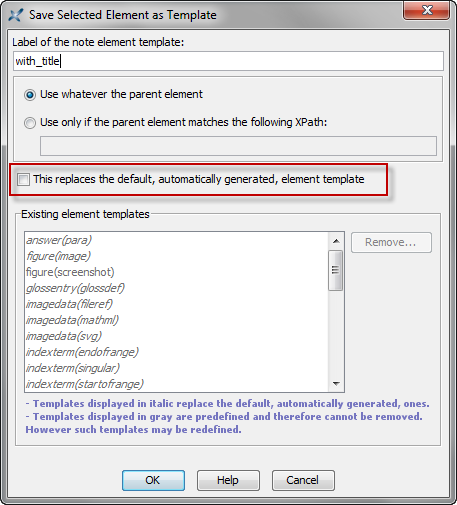
The
dialog box displayed by Save Selected Element as Template has a
checkbox called "This replaces the default, automatically generated,
element template". If you check it, your custom element template
replaces the one created by default by XMLmind XML Editor. That is, if you
check it, all the note elements you'll insert will begin with a
title.
Let's suppose you do not
want to do that. Let's suppose the name of your custom element template is
"with_title". When you'll use the Edit tool in order to
insert a note element, you'll see two note
elements listed there: the default template called "note" and
your custom template called "note(with_title)". Notice
that named element templates, whether custom ones or stock ones, are
displayed using an italic font.

